Python爬取Bing壁纸并结构化保存-上
Bing 壁纸质量一向不错,有没有办法可以批量的下载Bing上的壁纸呢?答案是有的,可以使用Python 爬虫。
Python 不但在机器学习,大数据方面有不错的表现,而且在网络请求,数据爬取方面也表现不错。
下面进入正题:
使用到的库文件:
Gevent:基于协程的Python 网络库
bs4:网页解析
uuid :防止文件名称重复
sqlite3:轻量型数据库
time:获取时间
以下是整个爬虫需要的库文件,如果没有对应的库文件,可以用pip 获取
1 | |
[1] 打上猴子补丁,使得一些Python自带的阻塞式系统调用的标准库,变为协程,而且一定要在导入其他包之前打上补丁,否则会报错!!
接下来要对网页文件结构进行分析:
这是第一页的链接: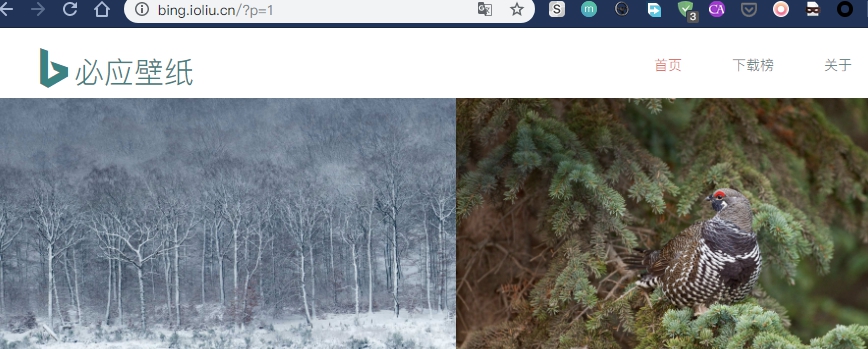
这是第二页的链接: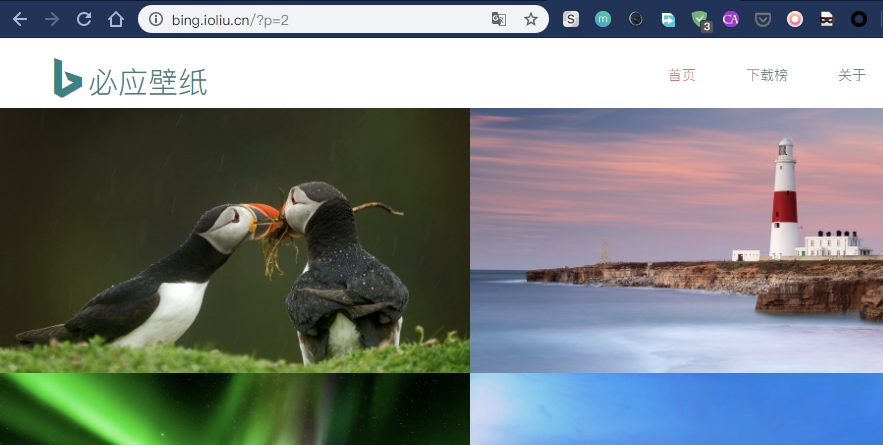
细心的可能发现了第一页与第二页的链接区别就是?p=后边的数字不同。现在我们已经知道了每页图片页面的链接。接下来我们构造请求头,构造请求头是为了使爬虫看起来像是浏览器。
1 | |
然后我们来分析每页图片的网页结构。
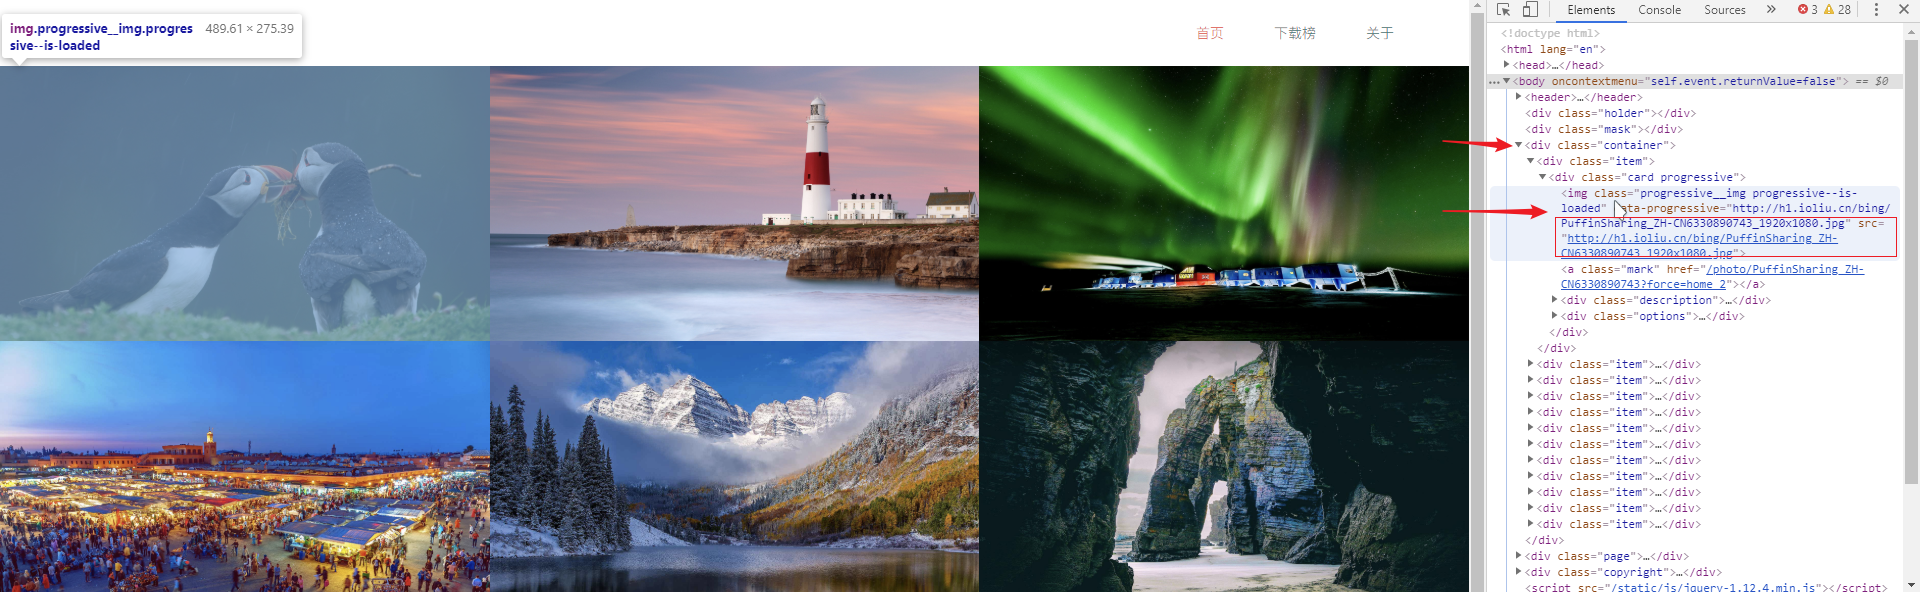
打开浏览器的开发人员工具,我们可以看到,每张图片都是一个标签,其src属性就是图片文件的链接。
知道了网页的结构,接下来写获取图片链接的函数。
1 | |
这里传入了网页的链接,上边构造的请求头,以及一个列表,这个是将获取的图片链接放到这个列表中,以备后用。
接下来是保存图片,下边写保存图片的函数:
1 | |
insert_imge_db() 是将要写的结构化存储图片的函数。
在完成图片下载后,我们需要对图片进行结构化保存,这里用到了sqlite数据库。
要对数据库进行操作,首先需要与数据库进行连接。
1 | |
这个函数是连接本地的Picture.db数据库,如果本地不存在这个数据库,则会创建这个数据库。
接下来我们初始化数据库,创建表结构。
1 | |
表中有两个字段,一个是图片的UUID,另一个就是图片的数据。在创建完表结构后,我们开始写插入函数。
1 | |
在存储图片前,我们首先要将图片转换为BLOB格式,然后以图片的UUID,和图片数据为参数,执行 insert SQL语句。最后别忘了关闭连接。
到此,整个爬虫的功能函数就写完了,接下来我们要将其组装起来。
1 | |
这样,我们就把爬虫的各个功能组件组装起来了。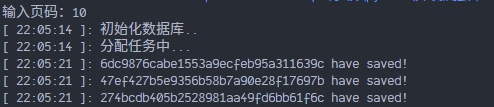
这是完整代码:
1 | |
这里另附查看数据库的代码:
1 | |
如有不足或不正确之处,请指出,谢谢!
代码仅供学习,不可用于爬取Bing壁纸